

Over the Christmas holidays Little J and I ordered some plans to build him a kayak for the summer. We opted for a Wood Duck 10 by CLC, which would be big enough for him to use for a few years.
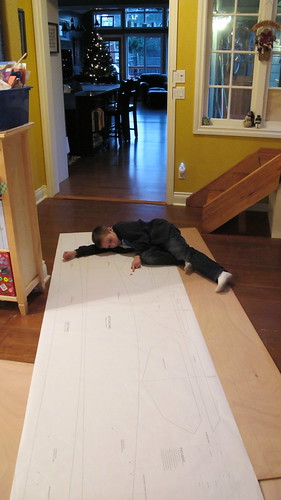
With a few sheets of 4mm okoume plywood ordered J was ready to go. We laid out the sheets and started to trace the plans onto the boards.
It started well, but after about 30 minutes of tracing he decided this was too much work and wanted to pack it in for the day.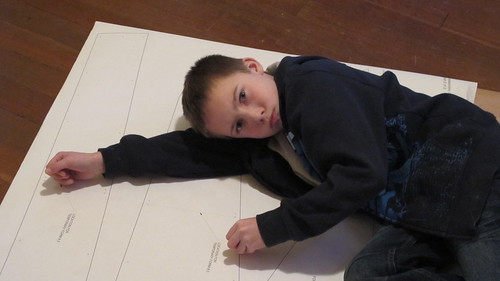
It was at that point I realized this was going to be a lonnnnnng project.
With the boards laid out and the plans traced on, we scarfed and epoxied the sheets together making one huge 4x16 sheet of plywood to cut the long 10 or 11' panels from.
Finally, after what Little J seemed to feel was forever we set to cutting the shapes out. It took awhile before getting into the grove of it, but we found that the best way was to grind my jigsaw blade down to 1" and then cut the boards right on top of a 1" piece of Building Styrofoam. This supported the bottom and let me kneel down onto the board as I cut it, which gave a better cut. Unfortunately I didn't figure this out until I had cut half of the patterns out so it made for some extra sanding and spokeshave shaping for the pieces I did first.
With the pieces cut Little J set to work as the "copper cutter"... his job was to cut me 200 pieces of 3" 20ga copper wire. He found this job was much more enjoyable once he fastened a jig together with 3" markings on it and set down in front of the TV to do the cutting. Once he had enough we started to wire the kayak together. This is the bottom hull: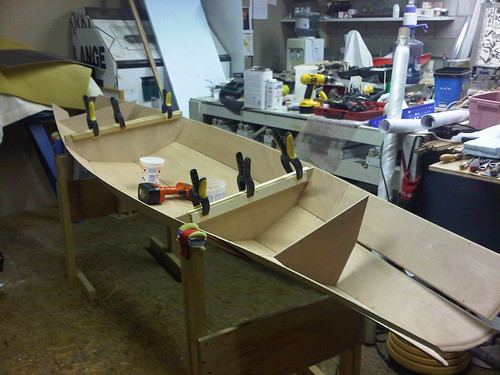
This is also the point where I discovered the book/manual that came with the plans really sucked. Getting the tips together and stitched in tight was a real struggle and I ended up spraying the tips with water to soften them up, all while getting a helper to hold them in place while I twisted the copper together. I think it took longer to join the bow and stern than it did to stitch the rest of the hull together....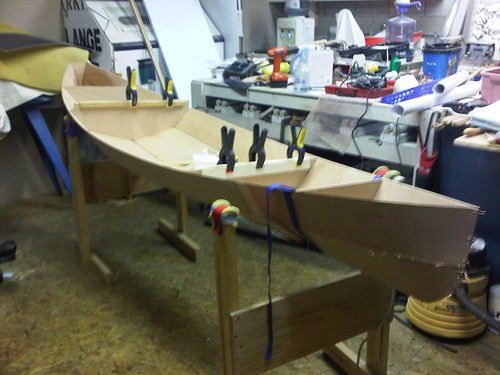
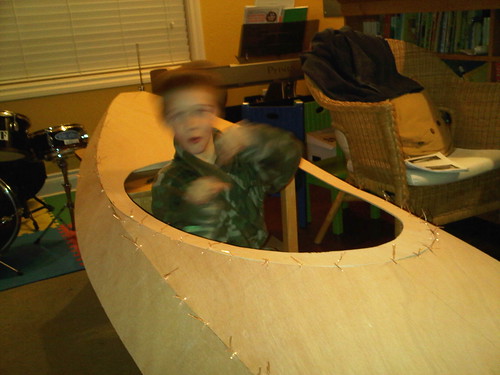
We started the build in a garage, which isn't heated, so after a day of cutting and stitching the hull together both Little J and I opted to build the deck by the wood fire. Mom wasn't to happy we were doing it in her living room. Once built, Little J put on his best paddling pose: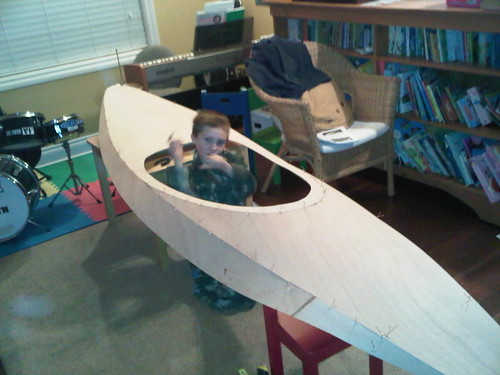
Next up: Tacking the kayak together!
Pro tips for next time:
Friday, January 28, 2011
Kayak Build, Part 1
Subscribe to:
Post Comments (Atom)


0 comments: