The Logical Philosopher

Saturday, January 29, 2011

Kayak Build, Part 3

With the hull and deck tacked, I now had to fiberglass and epoxy the inside seams. This was a 16 hour day, with about 12 hours of breaks spread around. My goal was to get the interior epoxied and fiberglassed in one shot, which meant I had to put several layers of thin epoxy on without letting it fully cure inbetween. Although it made for a long day it did reduce the amount of sanding I had to do between coats because the new layer could still bond with the old layer as it hadn't 100% cured yet.

Step 1:

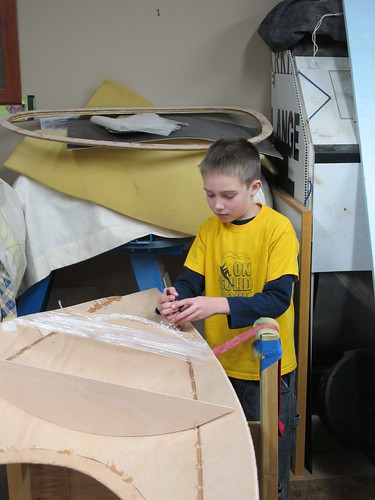
Little J and I prepped the seams with tape on one side, and he removed all the copper stitches from all the joints. We also pulled out the temporary bulkheads and left the one permanent one in place.
Wood Duck 10 Build

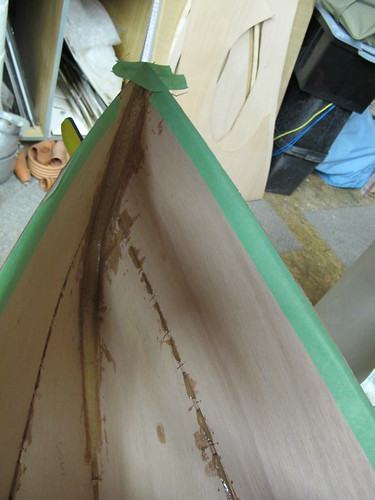
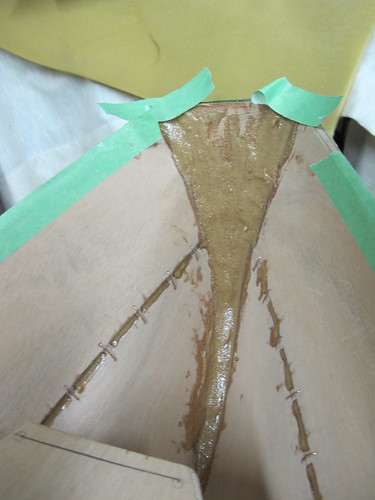
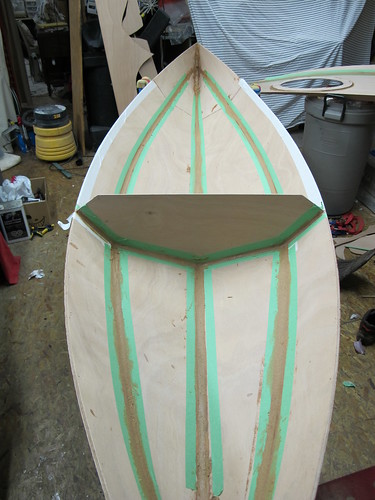
After that he set to work mixing, mixing, mixing up epoxy with some wood flour. To make it easier to spread I dumped it all into a plastic bag and piped the joints full.I dont' have much pictures of it because between mixing epoxy, trying to spread it on the fiberglass and keeping an 8 year old occupied I was too busy.
Wood Duck 10 Build


Here's the pro-tips I learned the hard way:

  • Mix up the thickened epoxy and pipe it in using a large ziplock bag with a small 1/4" cut off the bottom. It turned out it only took about 20 minutes to pipe the whole kayak, and then I filleted the joints smooth.
  • I would "pre-epoxy" the permanent bulkhead in so the wood was all sealed up nicely. It was difficult getting the unthickened epoxy on the vertical surface without it streaking down because I put too much on, and then when I worked it thinner it went cloudy on me.
  • Epoxy is a bitch: Easy to do, but hard to do well and still have it look nice when you're done. I floated in on too fast so it turned cloudy and I had to push as much out as possible so I could do several thinner coats instead of a lower number of thicker (and cloudy) coats.
  • I swear there is a "good" and "bad" side to 3" wide fiberglass tape. Some of the edges stood up on some of the parts, and didn't on others. This made for a ridge on some of the 3" fiberglass that I needed to sand down once the epoxy set.

    Step 2:

    With the fillets almost set we peeled off the tape and rolled out some 3" fiberglass on the seams. The tape made for nice and clean fillet lines, so when we put un-thickened epoxy over the 3" tape it made for a nice.

    Step 3:
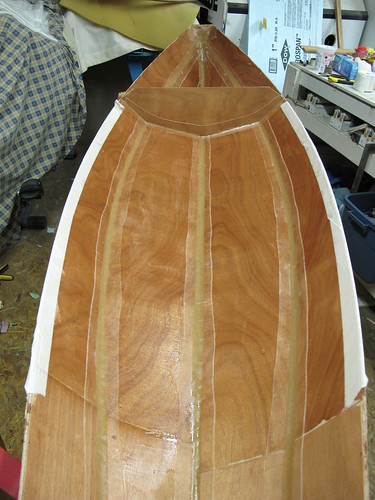
    The seams were almost set (a few hours later) so Little J and I spread out the fiberglass cloth in the cockpit area. I taped the top 2" where I was going to cut the cloth after it started to set, but if I was to do it again I would have run the cloth over the edges and trimmed it right at the joins after it started to set. This would have made for a nicer finish.
    Wood Duck 10 Build

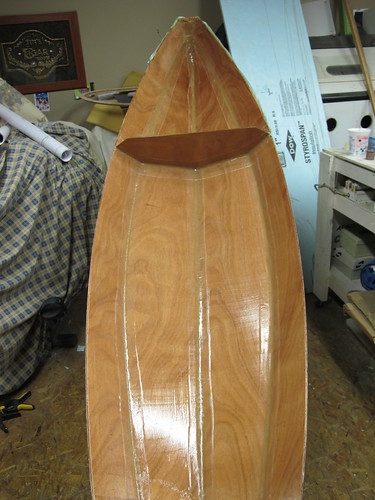
    Step 4: Epoxy, coat #2 over the full hull interior.
    Step 5: Epoxy, coat #3 over the full hull interior.
    Wood Duck 10 Build

    There were a few Coke breaks in between all the steps, as well as some hockey on the TV!

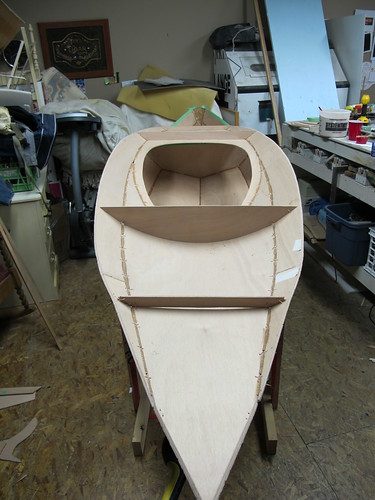
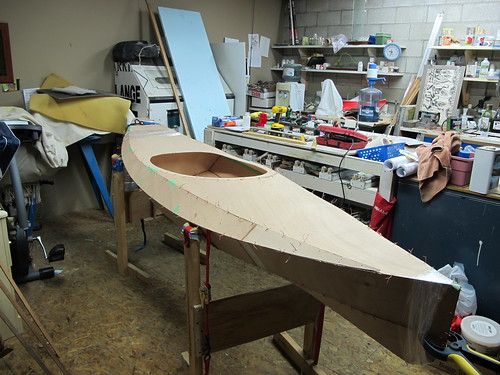
    Finally, we attached the hull to the deck temporarily so the epoxy would setup with the boat in the right shape:
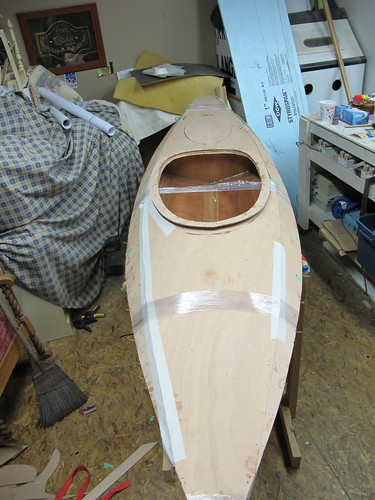
    Wood Duck 10 Build

    Next up: Coamings, Magnetic Hatches and Recessed Deck Fittings!

  • Kayak Build, Part 2

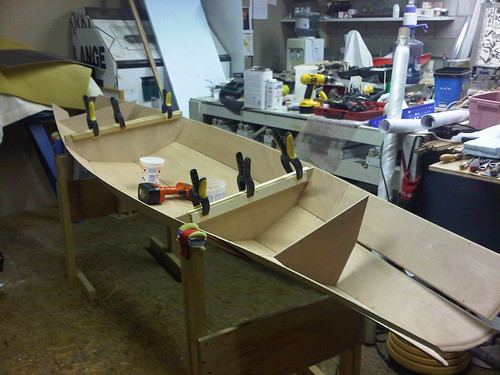
    CLC Wood Duck Build With the kayak stitched together we were ready to start tacking it together.

    Little J was in charge of mixing the epoxy so he set to work stirring, stirring and stirring some more. With some added wood flour he got the mix to a thick consistency and then I dumped it all into a syringe and filled the cracks between the copper stitches.

    Here's the bow:
    CLC Wood Duck Build

    And the stern, with some extra epoxy on the transom to strengthen it:
    CLC Wood Duck Build

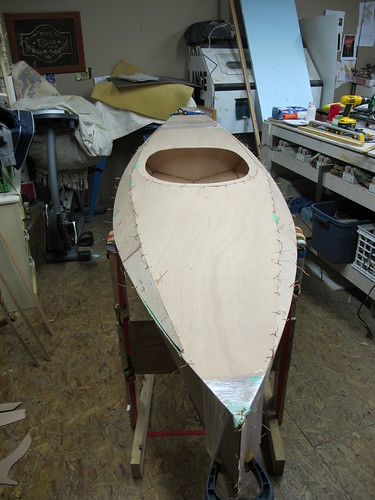
    And the hull, nicely tacked together:
    CLC Wood Duck Build

    Now came the hard part:
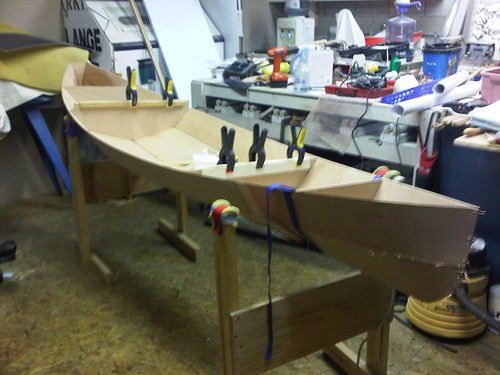
    CLC Wood Duck Build Before the tacks set I had to wire the hull and deck together so the tacks hardened with the panels in the right spot. Lining up the pieces and stitching them together was pretty much a two man job, but I had little J, right? Well, not really. He abandoned the effort to watch the Canucks on TV after his "epoxy stirring job" was done, so I was left on my own to stitch. All was going well until I was tightening up the bow and POP! one of the panels slipped in. With the temporary bulkheads in place I couldn't get the panel back up. To say I was pissed was a major understatement, because it meant pulling them apart again and then trying to reset the sheer panel in the right spot. And after (finally) getting the bow and stern all lined up, I wasn't about to undo all my stitches, so I scraped off as much epoxy as possible from the front panel and let the rest of the epoxy set. I ended up stitching the bow panels together separately when I didn't have the stress of the hull-to-deck fittings pushing on the panel.

    Finally, done:
    CLC Wood Duck Build

    Only time will tell if they set.

    Next up: Fiber glassing the interior

    Pro tips for next time:

  • Having 2 adults to stitch the hull and deck together would have sped up my job considerably. Also, the stretch tape worked to hold the parts together, but only when I had a second person there to keep the tension on the first few wraps.

  • Friday, January 28, 2011

    Kayak Build, Part 1

    Wood Duck 10 CLC build
    Over the Christmas holidays Little J and I ordered some plans to build him a kayak for the summer. We opted for a Wood Duck 10 by CLC, which would be big enough for him to use for a few years.

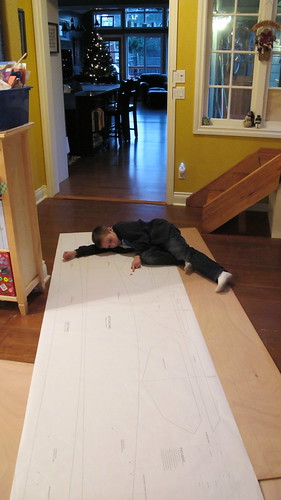
    With a few sheets of 4mm okoume plywood ordered J was ready to go. We laid out the sheets and started to trace the plans onto the boards.

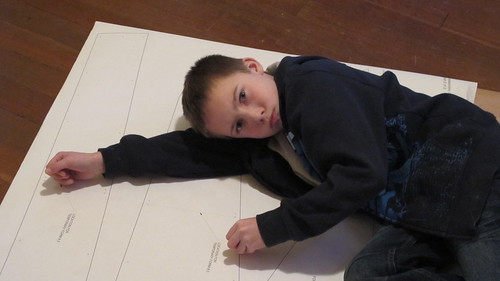
    It started well, but after about 30 minutes of tracing he decided this was too much work and wanted to pack it in for the day.


    Wood Duck 10 CLC build

    It was at that point I realized this was going to be a lonnnnnng project.

    With the boards laid out and the plans traced on, we scarfed and epoxied the sheets together making one huge 4x16 sheet of plywood to cut the long 10 or 11' panels from.

    Finally, after what Little J seemed to feel was forever we set to cutting the shapes out. It took awhile before getting into the grove of it, but we found that the best way was to grind my jigsaw blade down to 1" and then cut the boards right on top of a 1" piece of Building Styrofoam. This supported the bottom and let me kneel down onto the board as I cut it, which gave a better cut. Unfortunately I didn't figure this out until I had cut half of the patterns out so it made for some extra sanding and spokeshave shaping for the pieces I did first.

    With the pieces cut Little J set to work as the "copper cutter"... his job was to cut me 200 pieces of 3" 20ga copper wire. He found this job was much more enjoyable once he fastened a jig together with 3" markings on it and set down in front of the TV to do the cutting. Once he had enough we started to wire the kayak together. This is the bottom hull:
    Wood Duck 10

    This is also the point where I discovered the book/manual that came with the plans really sucked. Getting the tips together and stitched in tight was a real struggle and I ended up spraying the tips with water to soften them up, all while getting a helper to hold them in place while I twisted the copper together. I think it took longer to join the bow and stern than it did to stitch the rest of the hull together....

    Wood Duck 10

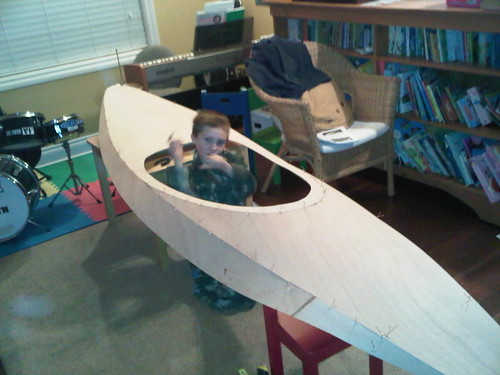
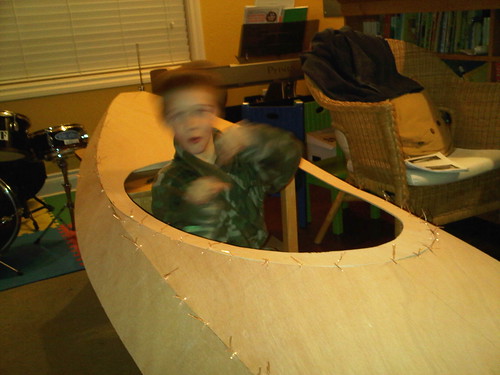
    We started the build in a garage, which isn't heated, so after a day of cutting and stitching the hull together both Little J and I opted to build the deck by the wood fire. Mom wasn't to happy we were doing it in her living room. Once built, Little J put on his best paddling pose:
    Wood Duck 10
    Wood Duck 10

    Next up: Tacking the kayak together!


    Pro tips for next time:

  • For the long curved lines next time I would drop a few points in with 1" finish nails, then take a long thin piece of flexible plywood (1/4" thick x 1" wide) and bend it to the curve on the points to trace out the line.
  • To cut the panels out, cut on top of a styrofoam panel with a shortened blade on a jigsaw. More control and less tearout!
  • A few of the curves, like the hatch cutouts, need to have 2 or 3 pieces that are cut exactly the same to line up together. I would cut one, then trace the one I cut before cutting the next one. I ran into some problems where I cut 1 part but didn't trace perfect (and compounded this by not cutting perfect) so the mating part didn't mate so well. I can fill the gap with epoxy filler, but it just creates more work.

  • Wednesday, January 19, 2011

    Building a kayak

    I got bored so started to build a kayak with Little J.

    CLC Wood Duck Build

    The main thing I've learned so far is building a kayak with an 8 year old will take 3x as long as on my own.

    Details to come...

    Monday, January 10, 2011

    2010 in review.

    I can't believe I only posted 11 times in 2010. That's 10% of what I peaked at in 2006. Here was the summary of my year:

    January to June:
    Pretty much a blur.... kept on pace to fly 100,000 miles.

    July:
    Discovered that I promised LP-ette that I would build a deck with railings for her by end of the summer. Spend most of my evening sanding, routing and staining 4x4 fir to make railings.

    August: A month on Hornby Island. (And I only had to work 2 weeks of my vacation!). My motto: Don't bug me when I'm on holiday. Scotch was drunk. Treeforts were built. Stars were watched. Here's a time-lapse shot I took over Lasqueti Island.

    Star Trails over Lasqueti Island


    September: Hand mixed the 18 bags of cement with colorant that I bought in July and formed a cobblestone path. It looks cool, but man, what was I thinking?!?

    October: Don't remember what happened, except I don't think spend much of it in Canada or a timezone that was amendable to my body.

    November:
    Sleeping to recover from the previous month. I do remember that.

    December: 2 weeks of craziness of finishing year end goals and then 2 weeks of researching a kayak build to start in the new year (more to come on that later).

    And to top it all off, my "to read" bookshelf grew by about 15 books, instead of being reduced. I've got alot to catch-up on in 2011....