

With the hull and deck tacked, I now had to fiberglass and epoxy the inside seams. This was a 16 hour day, with about 12 hours of breaks spread around. My goal was to get the interior epoxied and fiberglassed in one shot, which meant I had to put several layers of thin epoxy on without letting it fully cure inbetween. Although it made for a long day it did reduce the amount of sanding I had to do between coats because the new layer could still bond with the old layer as it hadn't 100% cured yet.
Step 1:
Little J and I prepped the seams with tape on one side, and he removed all the copper stitches from all the joints. We also pulled out the temporary bulkheads and left the one permanent one in place.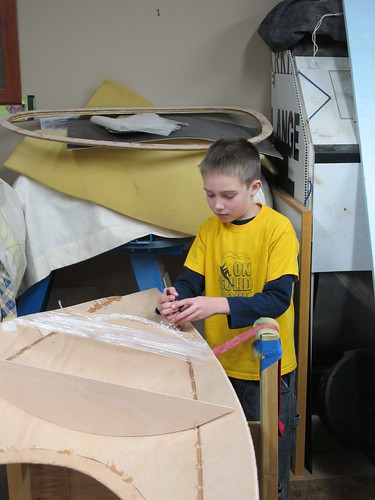
After that he set to work mixing, mixing, mixing up epoxy with some wood flour. To make it easier to spread I dumped it all into a plastic bag and piped the joints full.I dont' have much pictures of it because between mixing epoxy, trying to spread it on the fiberglass and keeping an 8 year old occupied I was too busy.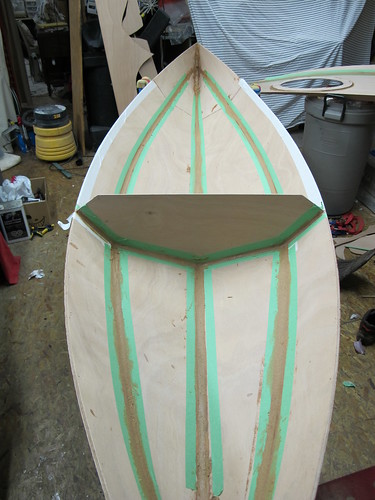
Here's the pro-tips I learned the hard way:
Step 2:
With the fillets almost set we peeled off the tape and rolled out some 3" fiberglass on the seams. The tape made for nice and clean fillet lines, so when we put un-thickened epoxy over the 3" tape it made for a nice.
Step 3:
The seams were almost set (a few hours later) so Little J and I spread out the fiberglass cloth in the cockpit area. I taped the top 2" where I was going to cut the cloth after it started to set, but if I was to do it again I would have run the cloth over the edges and trimmed it right at the joins after it started to set. This would have made for a nicer finish.
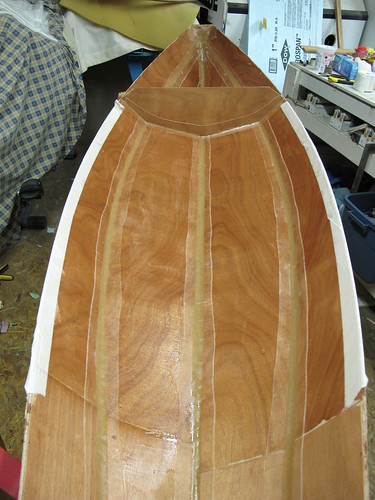
Step 4: Epoxy, coat #2 over the full hull interior.
Step 5: Epoxy, coat #3 over the full hull interior.

There were a few Coke breaks in between all the steps, as well as some hockey on the TV!
Finally, we attached the hull to the deck temporarily so the epoxy would setup with the boat in the right shape:

Next up: Coamings, Magnetic Hatches and Recessed Deck Fittings!


0 comments: