The Logical Philosopher

Tuesday, July 26, 2011

Kayak Build, Part 10

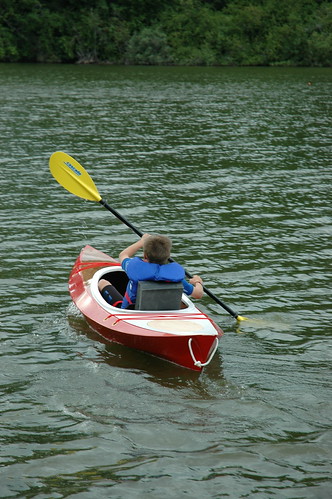
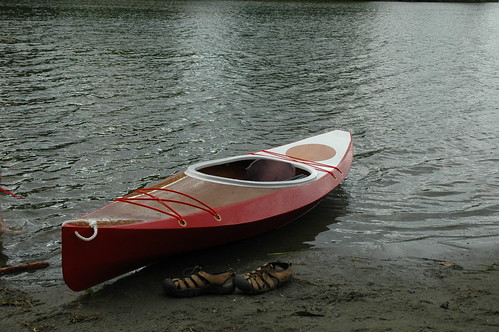
Finally, the kayak has been launched! With summer holiday time approaching later this week we had to try the kayak out in the water for leaks before it was officially launched in the ocean. I had bad visions of hiking down to the ocean with the kayak, only to discover it was not going to float, so opted to try in the lake by our house before we left on holiday.
DSC_4174

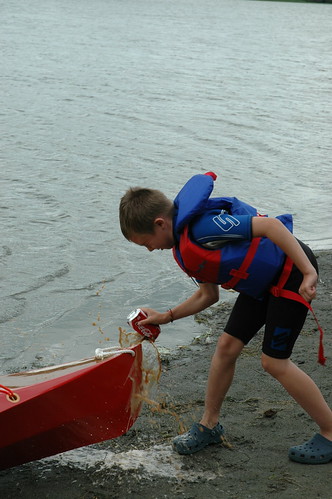
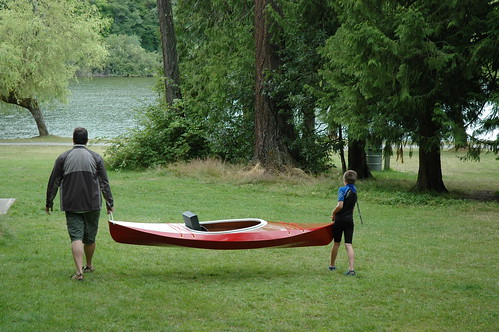
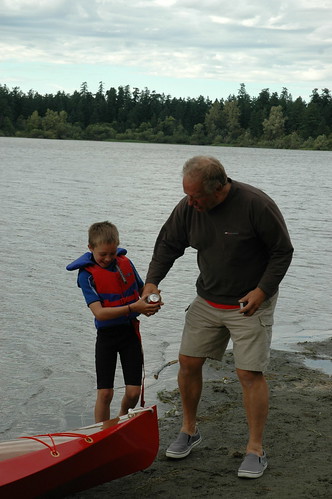
Little J was pretty excited, and even dressed up in his wetsuit for the occasion! We carried the kayak down to the water, and set about getting ready. Skipper Dave attended the launch, and had to explain to Little J about how we need to christen the boat before launching it. Although he wanted to use champagne, we brought the next best thing: a can of Coke! After a few tries, the kayak was christened, but the name is still up for debate: Scurvy Dog, Red Rock or Mario. I am secretly hoping he has some better names in mind...
DSC_4120

DSC_4128


DSC_4138

DSC_4144

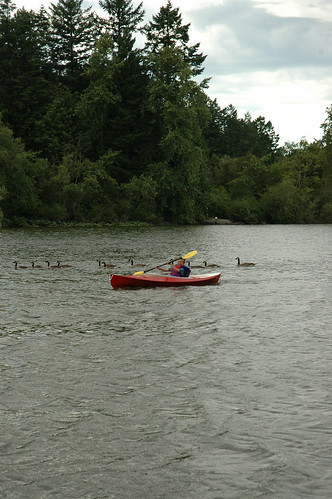
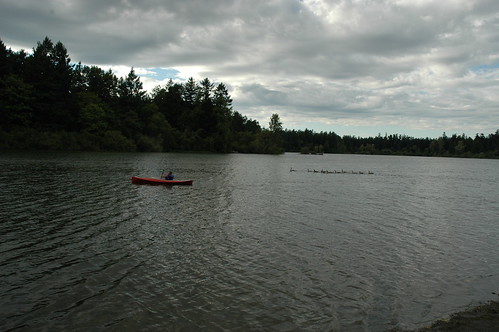
As Little J paddled about, a flock of Canada Geese even came up to check out the new kayak:
DSC_4152

DSC_4155


There still was quite a bit of water in the back compartment, so the seal on the hatch wasn't 100% watertight. I may need to rig up a knob that turns and compresses the seal more, otherwise everything in the hatch will need to be put in a watertight bag. As well there is still a few things left to do to finally called it "finished!", such as paint the hatch cover, do lettering, and make a seat back cushion.

I estimate the time to build it was around 150 hours. There was much time spent working out the magnets to hold the hatch down, plus to make and epoxy / varnish the wooden tie-downs. Other unexpected things included having to re-sand and paint parts of the boat added a few hours, having an 8 year old helping, and generally not knowing what I was doing all the time and just sitting there looking at the boards wondering "How will this fit together?". If I were to do it again, I think I could easily do it in 100 hours or so, including painting and varnishing. Although, if I were suggest to do it again, I am not sure LP-ette will let me.
Thursday, July 21, 2011

Kayak Build, Part 9

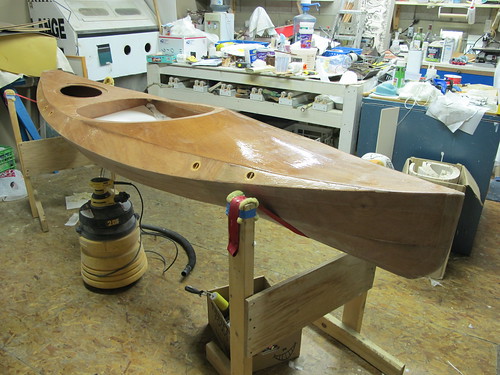
We finally finished the painting, and have almost finished all the small parts! It is true that the last 10% is 90% of the work.

IMG_4470.JPG

Little J helped do the final painting steps, which took about 3 weeks longer than anticipated. We ran into problems with the easypoxy on the combing for some reason, and had to sand it off. There was a yellow film that appeared and was fairly tacky, so not once, not twice, but three times it needed removed and sanded down to the wood. Even the final coats also would not setup properly in a few small places and is still a little tacky in places. I have a feeling this winter will be sanding and refinishing the combing all over again.

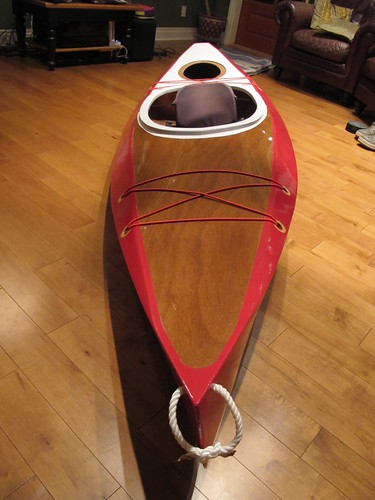
One thing Jordan also helped (and picked) was the red tie-down bungie cords. I am not sure I am totally sold on the color combinations he chose, but it was his kayak, so he got to pick. He is lobbying hard to name it "The Scurvy Dog", so I really hope to change his mind!

The Hatch:

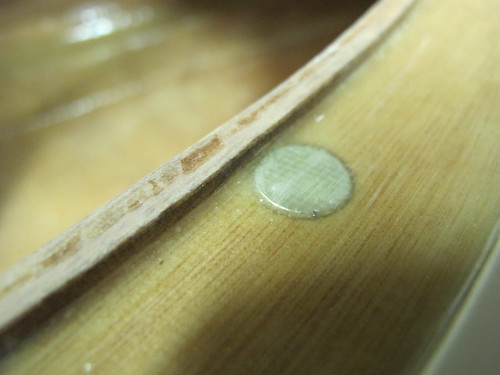
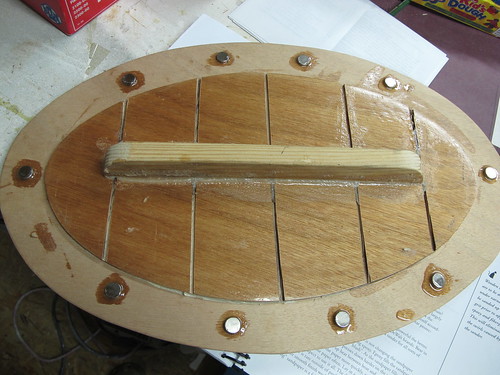
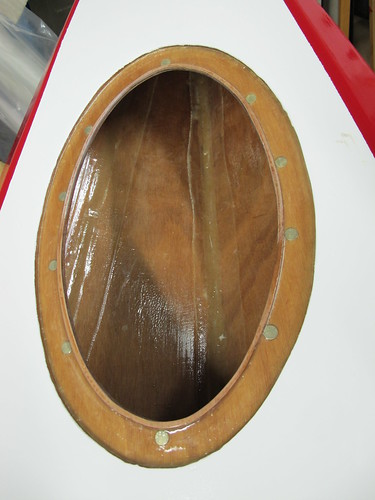
The hatch is still not quite finished yet, but we did get the magnets all epoxied in, which seems to hold it down fairly tight. I talked a little about it in Part 4, but actually didn't know if it would work until I got it all built.

Here you can see we put 10 magnets around the hatch, each inset into the deck and epoxied/fiber glassed over them:

IMG_4462.JPG

IMG_4465.JPG

On the hatch, we ran into problems and had to cut some reliefs in the stiffner and then re-stiffen it with a camber to match the deck, finally just epoxying the magnets right on top of the wood. I will have to finish the hatch with an epoxy spread, and then paint it all white to match. Ultimately we will tie the hatch down with a bungie inside, just in case it the magnets let lose and it comes off.

IMG_4463.JPG

It was actually a pretty tight fit, and I needed to put a knife in to pry the it off and break the magnetic seal. To finish the hatch we will either need to put a pull hole in the hatch, or a knob on the top to help open it.

Still to do:

  • Finish the seat for Jordan, as it needs to be adjustable for his small height.
  • Splice the ends of the rope together where the carry points are (I just tied them in a knot for now).
  • Talk Little J out of naming it "The Scurvy Dog" and into something more, er, normal.
  • Still some touch-up paint that needs done where the white bled through the tape.
  • Install a water bottle holder. Yes, Little J has insisted on such an addition.
  • End-pour, and if needed, some floats inside for buoyancy.
It is good enough for now to take it for the inaugural spin this weekend at the lake, then it will be packed up and will head up to Hornby Island for the remainder of it's life.

Next post will be Part 10 of the Kayak Build, and hopefully my last (for now). Then I will have to covertly figure out how to build a SUP....

Wednesday, June 22, 2011

Kayak Build, Part 8

Painting has started!

IMG_4385.JPG

Bottom coat is done and next we start on the top.

IMG_4384.JPG

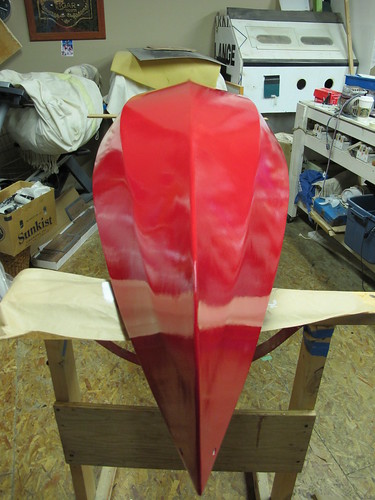
Little J has opted for a red bottom that wraps around onto the deck, and a white deck at the stern, with a varnished bow. Jordan was in charge of tipping the kayak as I did the rolling:

IMG-20110621-00003

It looks like I did have some bleeding under the tape, so we will see what that looks like tomorrow when we pull it off.

With any luck it will be water-ready fairly soon!

Monday, June 20, 2011

Kayak Build, Part 7

Finally, sanding is all done!!!

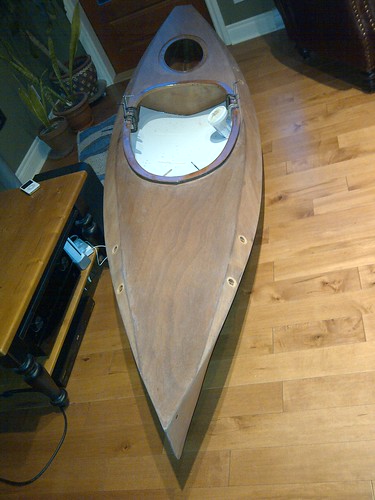
Here's the kayak, as it rests in our living room under the guise of "I didn't want to ding it again carrying it down into the basement for a quick epoxy of the seat-mounts". I had to promise to get it out of the house as soon as the epoxy set, and back to the boat-building garage at Skipper Dave's.

Kayak Build - IMG-20110614-00015

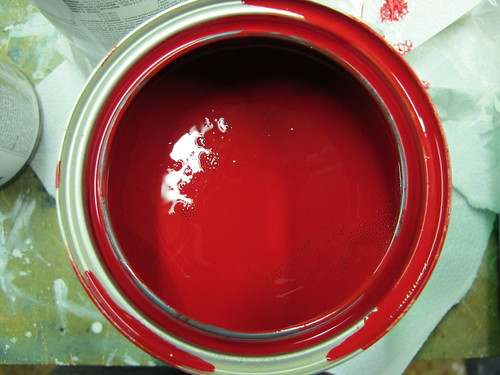
Last week I took Little J down to the marine store to pick the paint colors for the kayak. He had been wavering between orange and blue, but since they didn't have orange in the Pettit Easypoxy Paint I was going to get and I wouldn't let him get blue (so he wouldn't blend into the ocean on us), a large discussion over the benefits and drawbacks of yellow vs. red happened in the paint aisle. Finally he decided on Bright Red, but would not divulge his reasoning.

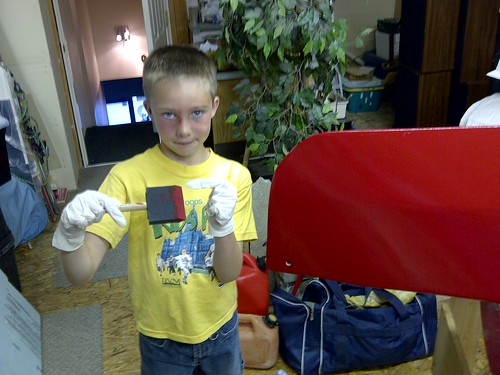
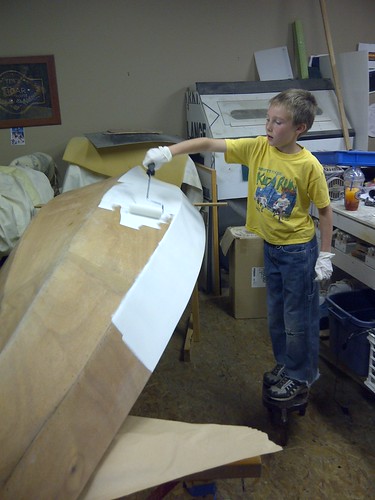
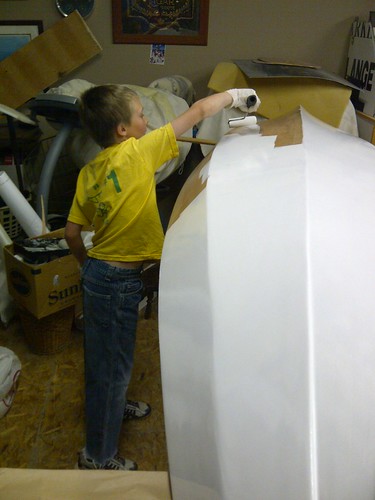
This weekend we managed to sneak out of the house with J and get two coats of bottom-paint on the hull. I am hoping this will make it a bit more tough against the bumps on the barnacle covered rocks that will evidently happen. He was insistent that I take some pictures of him paining it.

Kayak Build - IMG-20110617-00026

Kayak Build - IMG-20110617-00028

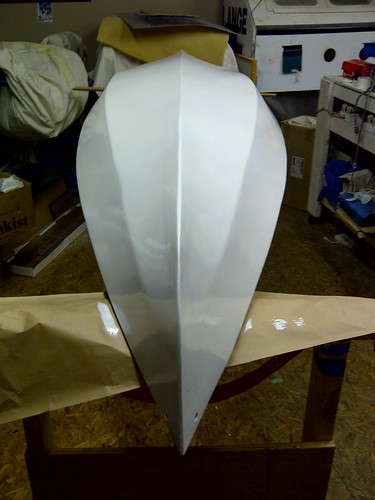
Finally, after a sand and another coat the hull was all ready:
Kayak Build - IMG-20110617-00029


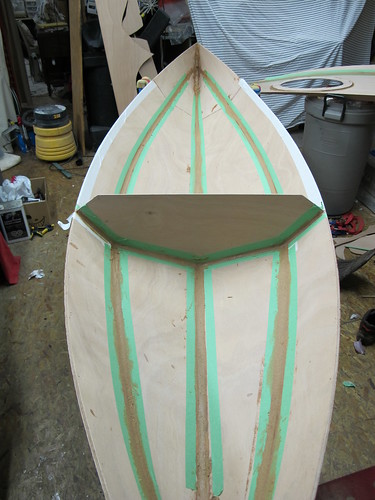
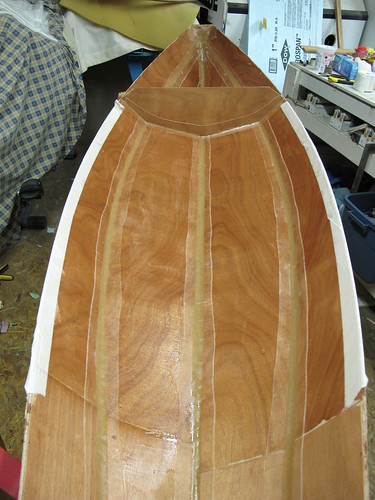
The bow is being varnished, while the rest of the boat is going to be painted red:

Kayak Build - IMG-20110617-00024


Once the paining is done I need to finish up the seat and the hatch cover, so only a few more hours of work before it is ready for a test run at the beach!

Monday, May 30, 2011

Kayak Build, Part 6

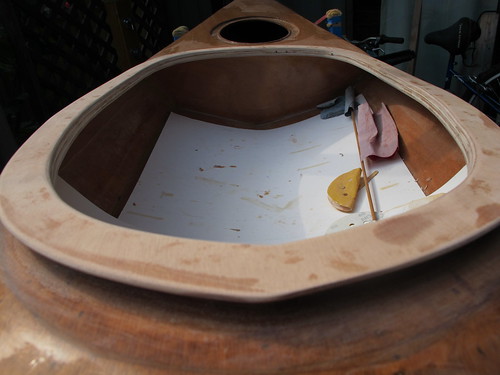
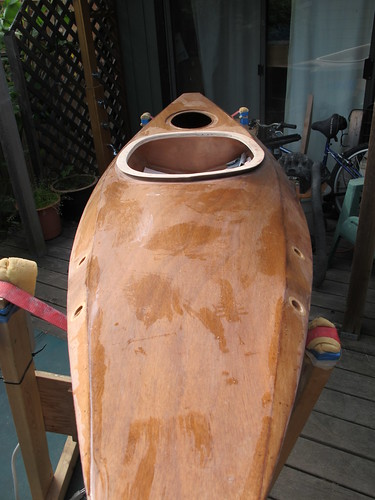
I finally found some free time to get the combing epoxied down and sanded smooth!

IMG_4227.JPG

A few more hours of sanding and I should have the boat ready for paint! I know I said that last time, but I had to fit a trip up to Hornby Island, and then back to quick trip to Europe for work somewhere in my spare time.

Wood Duck kayak IMG_4228.JPG

With summer coming I better be getting to the painting soon...

Tuesday, May 17, 2011

Kayak Build, Part 5

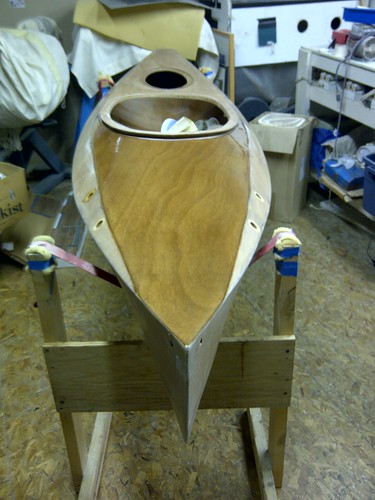
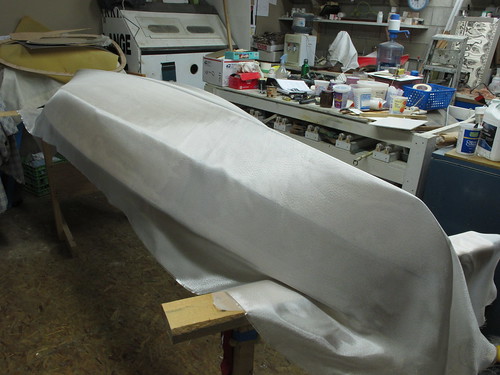
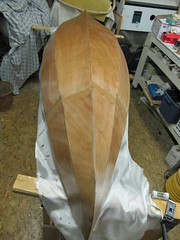
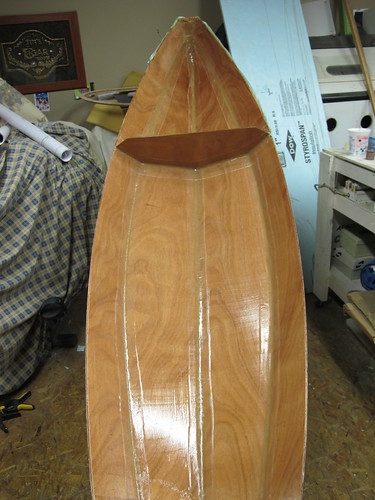
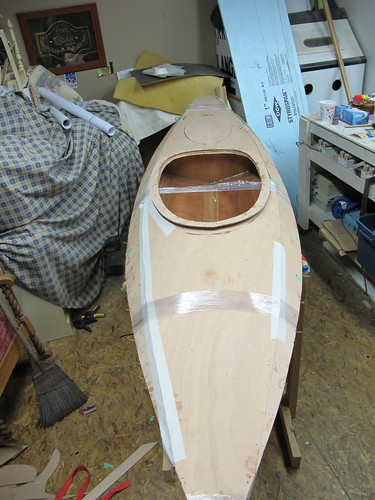
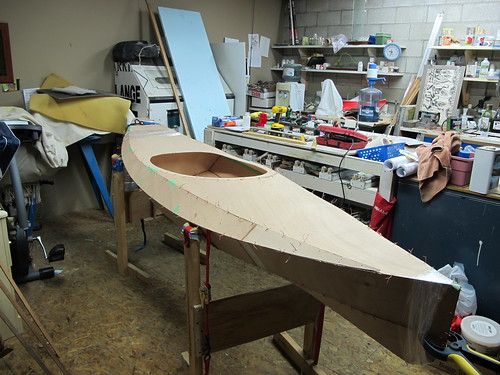
IMG_4052.JPG Finally, I arrived at the point of no return - fiberglassing the kayak. I did the hull first, and after the glass set cut along the shear line to have a clean line between the hull and the deck. Three coats of epoxy and I had the hull done, and then I moved onto the deck.
IMG_4055.JPG

I followed the tips from Lazlo and when I put the fiberglass on the deck, ran a line of tape 2" below the deck/hull line. Before the fiberglass fully set I pulled it back off the tape and cut along the line which gave a good overlap of fiberglass with a clean line. A few more coats of epoxy and I had it smoothed out.

IMG_4111.JPG

Then I moved from sticky to dusty, and my motto went to: Apply another coat of epoxy, sand 1/2 coat off. Apply a coat of epoxy, sand 1/2 coat off. Apply a coat of epoxy, sand 1/2 coat off. Apply a coat of epoxy, sand 1/2 coat off... More sanding details to come as I spend the long weekend sanding and attaching the combing.

By next week I should have it ready to start painting, assuming I stay in town long enough for work...

Sunday, March 13, 2011

Kayak Build, Part 4

With the hull and deck setting, we turned our attention to some of the smaller parts in the kayak: The combing and the recessed deck fittings.

Recessed deck fittings:

I'm not too keen on building this whole kayak, and then drilling some holes in the edges to mount strap fittings onto so I wanted to do some recessed deck fittings. I looked around on the web and found some good examples (Orca Boats, Kayak Forum discussion board, Andy Waddington's page, Clear Stream Woodworking and Guillemot Kayak), but after test trying to build 2 or 3 of them in my shop I opted for the easier version from Orca Boats.

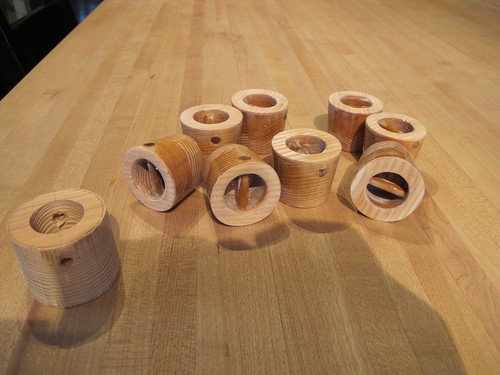
You can see the rough blank on the left of the picture, and the rest of them tapered, sanded and epoxied and ready to drop into the deck before I epoxy it to the hull for good. The 1/4" dowel will be where the strapping can be tied onto.

IMG_3438.JPG


The blanks were cut with a 3/4" ID hole and a 1.5" OD, plus a taper at about 10 degrees. For the mating hole on the kayak deck I drilled the hole 1 3/8" and sanded each hole to fit each blank. I think if I were to do it again I would get a 1.5" OD hole drill and start the first 1/2" for each blank way to ensure I had a perfectly round blank, and then drill a hole to match. I had sanded to a 1.5" diameter line drawn on the blank but wasn't that accurate with the sander so some of the blanks weren't that round, hence the 'sanding each blank and corresponding hole to fit'.

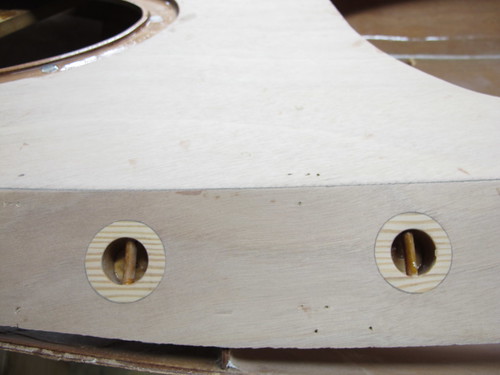
The blanks were epoxied in, with an added fillet of on the back with some wood flour and then sanded flat on the top side to smooth it out with the rest of the deck. There is 8 in all, and they look pretty slick.

IMG_3463.JPG


Combing:


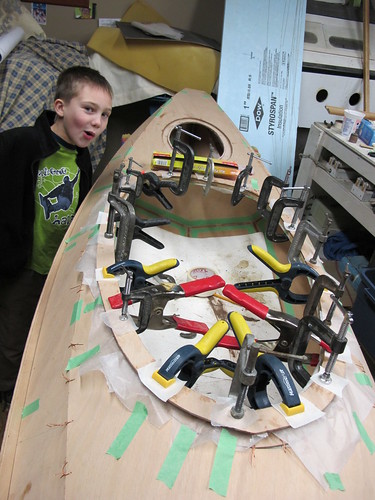
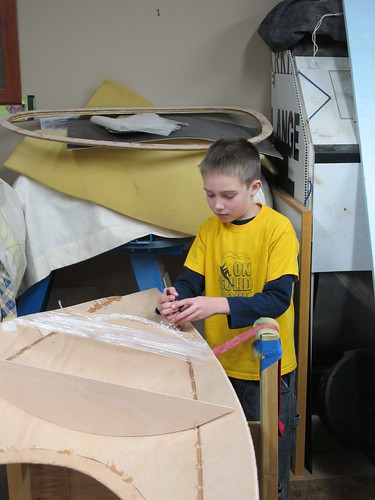
Part of the problem with cutting my own parts out was that I didn't make perfect cuts. This became glaringly obvious when I tried to line up 4 stacked parts that made the combing, yet none of the 4 had the same profile all the way around.

Wood Duck kayak build

Nonetheless we epoxied them together the best we could and I am just waiting for a large cutting, scraping, sanding, filling, sanding, filling and sanding job to be coming out of this.

I am putting magnets on the hatch for hold-downs so it has turned into a monster project so I am sure it will get it's own blog post later in the build.

Here's my pro-tips for lessons learned (I seem to be creating alot of these!):

  • Wait until the kayak deck is assembled and make a template out of cardboard for the combing. This will ensure you get a combing that is properly matched to the deck in shape.
  • For the recessed fittings, route a large radius onto the insides. The small one I had virtually disappeared when I sanded the fitting flush to the deck. Whoops...
  • Saturday, January 29, 2011

    Kayak Build, Part 3

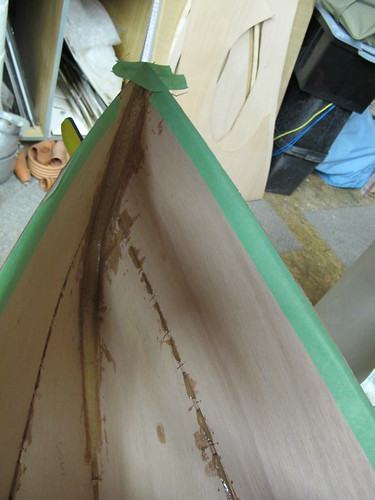
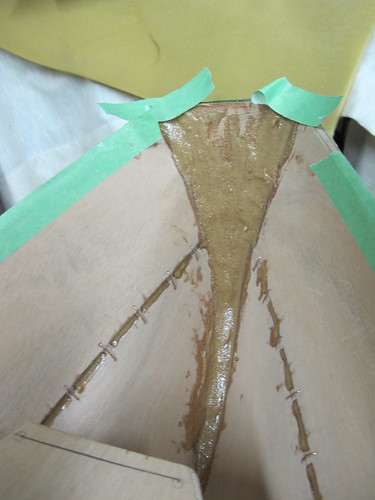
    With the hull and deck tacked, I now had to fiberglass and epoxy the inside seams. This was a 16 hour day, with about 12 hours of breaks spread around. My goal was to get the interior epoxied and fiberglassed in one shot, which meant I had to put several layers of thin epoxy on without letting it fully cure inbetween. Although it made for a long day it did reduce the amount of sanding I had to do between coats because the new layer could still bond with the old layer as it hadn't 100% cured yet.

    Step 1:

    Little J and I prepped the seams with tape on one side, and he removed all the copper stitches from all the joints. We also pulled out the temporary bulkheads and left the one permanent one in place.
    Wood Duck 10 Build

    After that he set to work mixing, mixing, mixing up epoxy with some wood flour. To make it easier to spread I dumped it all into a plastic bag and piped the joints full.I dont' have much pictures of it because between mixing epoxy, trying to spread it on the fiberglass and keeping an 8 year old occupied I was too busy.
    Wood Duck 10 Build


    Here's the pro-tips I learned the hard way:

  • Mix up the thickened epoxy and pipe it in using a large ziplock bag with a small 1/4" cut off the bottom. It turned out it only took about 20 minutes to pipe the whole kayak, and then I filleted the joints smooth.
  • I would "pre-epoxy" the permanent bulkhead in so the wood was all sealed up nicely. It was difficult getting the unthickened epoxy on the vertical surface without it streaking down because I put too much on, and then when I worked it thinner it went cloudy on me.
  • Epoxy is a bitch: Easy to do, but hard to do well and still have it look nice when you're done. I floated in on too fast so it turned cloudy and I had to push as much out as possible so I could do several thinner coats instead of a lower number of thicker (and cloudy) coats.

  • I swear there is a "good" and "bad" side to 3" wide fiberglass tape. Some of the edges stood up on some of the parts, and didn't on others. This made for a ridge on some of the 3" fiberglass that I needed to sand down once the epoxy set.

    Step 2:

    With the fillets almost set we peeled off the tape and rolled out some 3" fiberglass on the seams. The tape made for nice and clean fillet lines, so when we put un-thickened epoxy over the 3" tape it made for a nice.

    Step 3:
    The seams were almost set (a few hours later) so Little J and I spread out the fiberglass cloth in the cockpit area. I taped the top 2" where I was going to cut the cloth after it started to set, but if I was to do it again I would have run the cloth over the edges and trimmed it right at the joins after it started to set. This would have made for a nicer finish.
    Wood Duck 10 Build

    Step 4: Epoxy, coat #2 over the full hull interior.
    Step 5: Epoxy, coat #3 over the full hull interior.

    Wood Duck 10 Build

    There were a few Coke breaks in between all the steps, as well as some hockey on the TV!

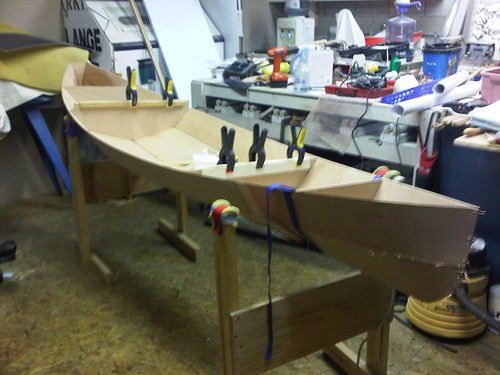
    Finally, we attached the hull to the deck temporarily so the epoxy would setup with the boat in the right shape:

    Wood Duck 10 Build

    Next up: Coamings, Magnetic Hatches and Recessed Deck Fittings!

  • Kayak Build, Part 2

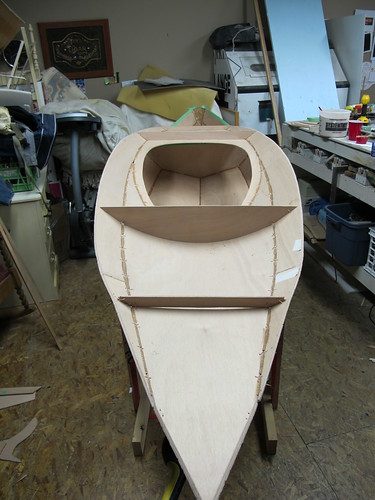
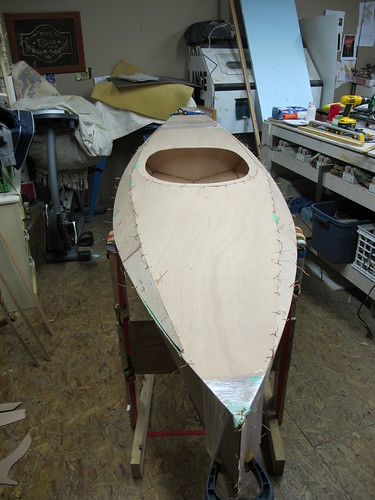
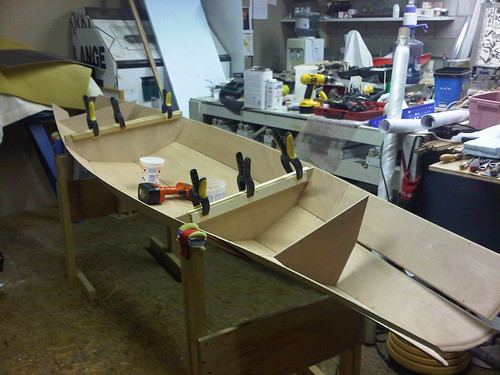
    CLC Wood Duck Build With the kayak stitched together we were ready to start tacking it together.

    Little J was in charge of mixing the epoxy so he set to work stirring, stirring and stirring some more. With some added wood flour he got the mix to a thick consistency and then I dumped it all into a syringe and filled the cracks between the copper stitches.

    Here's the bow:
    CLC Wood Duck Build

    And the stern, with some extra epoxy on the transom to strengthen it:
    CLC Wood Duck Build

    And the hull, nicely tacked together:
    CLC Wood Duck Build

    Now came the hard part:
    CLC Wood Duck Build Before the tacks set I had to wire the hull and deck together so the tacks hardened with the panels in the right spot. Lining up the pieces and stitching them together was pretty much a two man job, but I had little J, right? Well, not really. He abandoned the effort to watch the Canucks on TV after his "epoxy stirring job" was done, so I was left on my own to stitch. All was going well until I was tightening up the bow and POP! one of the panels slipped in. With the temporary bulkheads in place I couldn't get the panel back up. To say I was pissed was a major understatement, because it meant pulling them apart again and then trying to reset the sheer panel in the right spot. And after (finally) getting the bow and stern all lined up, I wasn't about to undo all my stitches, so I scraped off as much epoxy as possible from the front panel and let the rest of the epoxy set. I ended up stitching the bow panels together separately when I didn't have the stress of the hull-to-deck fittings pushing on the panel.

    Finally, done:
    CLC Wood Duck Build

    Only time will tell if they set.

    Next up: Fiber glassing the interior

    Pro tips for next time:

  • Having 2 adults to stitch the hull and deck together would have sped up my job considerably. Also, the stretch tape worked to hold the parts together, but only when I had a second person there to keep the tension on the first few wraps.

  • Friday, January 28, 2011

    Kayak Build, Part 1

    Wood Duck 10 CLC build
    Over the Christmas holidays Little J and I ordered some plans to build him a kayak for the summer. We opted for a Wood Duck 10 by CLC, which would be big enough for him to use for a few years.

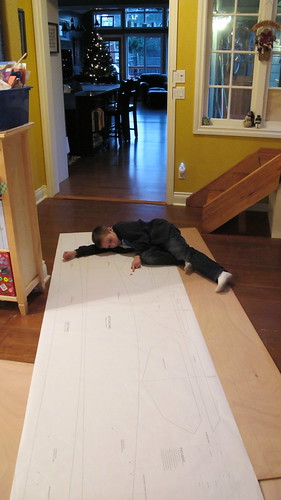
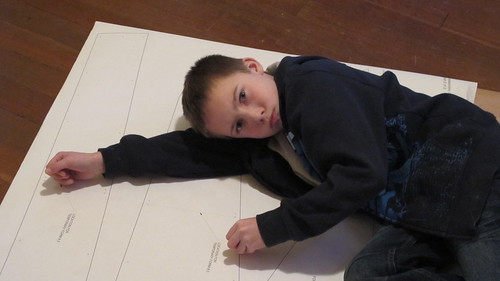
    With a few sheets of 4mm okoume plywood ordered J was ready to go. We laid out the sheets and started to trace the plans onto the boards.

    It started well, but after about 30 minutes of tracing he decided this was too much work and wanted to pack it in for the day.


    Wood Duck 10 CLC build

    It was at that point I realized this was going to be a lonnnnnng project.

    With the boards laid out and the plans traced on, we scarfed and epoxied the sheets together making one huge 4x16 sheet of plywood to cut the long 10 or 11' panels from.

    Finally, after what Little J seemed to feel was forever we set to cutting the shapes out. It took awhile before getting into the grove of it, but we found that the best way was to grind my jigsaw blade down to 1" and then cut the boards right on top of a 1" piece of Building Styrofoam. This supported the bottom and let me kneel down onto the board as I cut it, which gave a better cut. Unfortunately I didn't figure this out until I had cut half of the patterns out so it made for some extra sanding and spokeshave shaping for the pieces I did first.

    With the pieces cut Little J set to work as the "copper cutter"... his job was to cut me 200 pieces of 3" 20ga copper wire. He found this job was much more enjoyable once he fastened a jig together with 3" markings on it and set down in front of the TV to do the cutting. Once he had enough we started to wire the kayak together. This is the bottom hull:
    Wood Duck 10

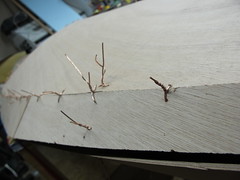
    This is also the point where I discovered the book/manual that came with the plans really sucked. Getting the tips together and stitched in tight was a real struggle and I ended up spraying the tips with water to soften them up, all while getting a helper to hold them in place while I twisted the copper together. I think it took longer to join the bow and stern than it did to stitch the rest of the hull together....

    Wood Duck 10

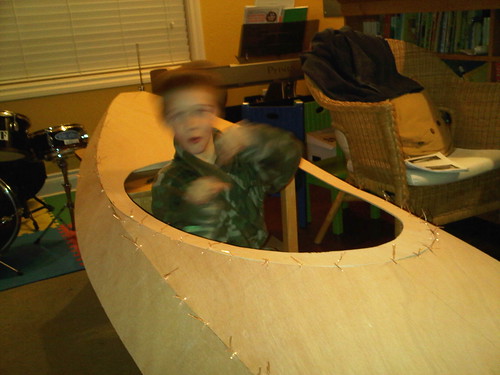
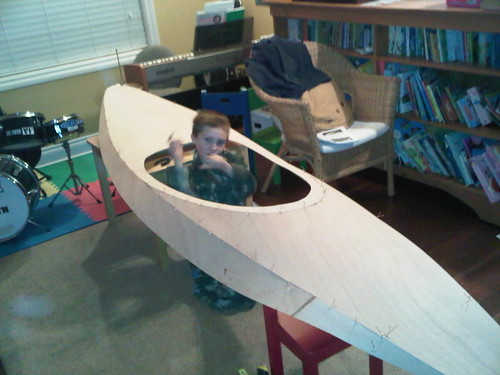
    We started the build in a garage, which isn't heated, so after a day of cutting and stitching the hull together both Little J and I opted to build the deck by the wood fire. Mom wasn't to happy we were doing it in her living room. Once built, Little J put on his best paddling pose:
    Wood Duck 10
    Wood Duck 10

    Next up: Tacking the kayak together!


    Pro tips for next time:

  • For the long curved lines next time I would drop a few points in with 1" finish nails, then take a long thin piece of flexible plywood (1/4" thick x 1" wide) and bend it to the curve on the points to trace out the line.
  • To cut the panels out, cut on top of a styrofoam panel with a shortened blade on a jigsaw. More control and less tearout!
  • A few of the curves, like the hatch cutouts, need to have 2 or 3 pieces that are cut exactly the same to line up together. I would cut one, then trace the one I cut before cutting the next one. I ran into some problems where I cut 1 part but didn't trace perfect (and compounded this by not cutting perfect) so the mating part didn't mate so well. I can fill the gap with epoxy filler, but it just creates more work.

  • Wednesday, January 19, 2011

    Building a kayak

    I got bored so started to build a kayak with Little J.

    CLC Wood Duck Build

    The main thing I've learned so far is building a kayak with an 8 year old will take 3x as long as on my own.

    Details to come...