With the hull and deck setting, we turned our attention to some of the smaller parts in the kayak: The combing and the recessed deck fittings.
Recessed deck fittings:
I'm not too keen on building this whole kayak, and then drilling some holes in the edges to mount strap fittings onto so I wanted to do some recessed deck fittings. I looked around on the web and found some good examples (Orca Boats, Kayak Forum discussion board, Andy Waddington's page, Clear Stream Woodworking and Guillemot Kayak), but after test trying to build 2 or 3 of them in my shop I opted for the easier version from Orca Boats.
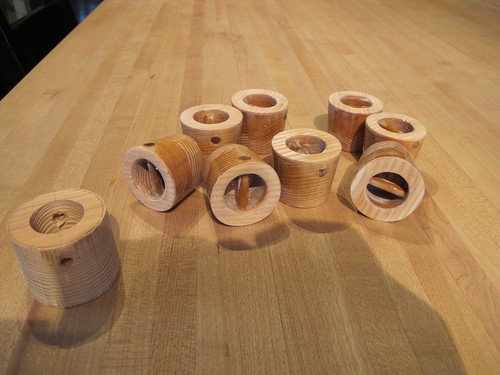
You can see the rough blank on the left of the picture, and the rest of them tapered, sanded and epoxied and ready to drop into the deck before I epoxy it to the hull for good. The 1/4" dowel will be where the strapping can be tied onto.
The blanks were cut with a 3/4" ID hole and a 1.5" OD, plus a taper at about 10 degrees. For the mating hole on the kayak deck I drilled the hole 1 3/8" and sanded each hole to fit each blank. I think if I were to do it again I would get a 1.5" OD hole drill and start the first 1/2" for each blank way to ensure I had a perfectly round blank, and then drill a hole to match. I had sanded to a 1.5" diameter line drawn on the blank but wasn't that accurate with the sander so some of the blanks weren't that round, hence the 'sanding each blank and corresponding hole to fit'.
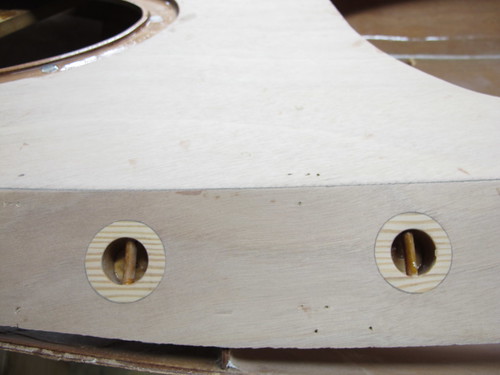
The blanks were epoxied in, with an added fillet of on the back with some wood flour and then sanded flat on the top side to smooth it out with the rest of the deck. There is 8 in all, and they look pretty slick.
Combing:
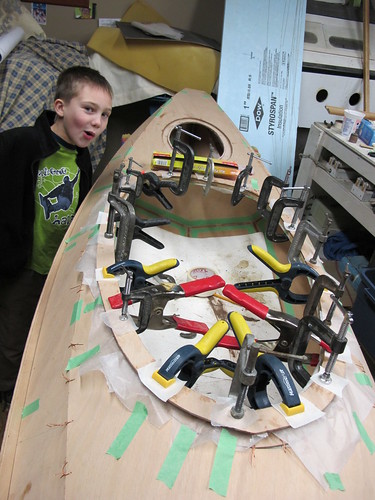
Part of the problem with cutting my own parts out was that I didn't make perfect cuts. This became glaringly obvious when I tried to line up 4 stacked parts that made the combing, yet none of the 4 had the same profile all the way around.
Nonetheless we epoxied them together the best we could and I am just waiting for a large cutting, scraping, sanding, filling, sanding, filling and sanding job to be coming out of this.
I am putting magnets on the hatch for hold-downs so it has turned into a monster project so I am sure it will get it's own blog post later in the build.
Here's my pro-tips for lessons learned (I seem to be creating alot of these!):
Sunday, March 13, 2011
Kayak Build, Part 4
Subscribe to:
Post Comments (Atom)


1 comments:
keep up the good work!!!
I've just found out about your blog and it's very nice. I intend to build a small kayak for my kids as well, though, after reading your experience, I won't insist in getting help from them ;)
looking forward to Part 5